Wood Floor Cleaning Routines: Daily, Weekly, and Seasonal Maintenance Plans
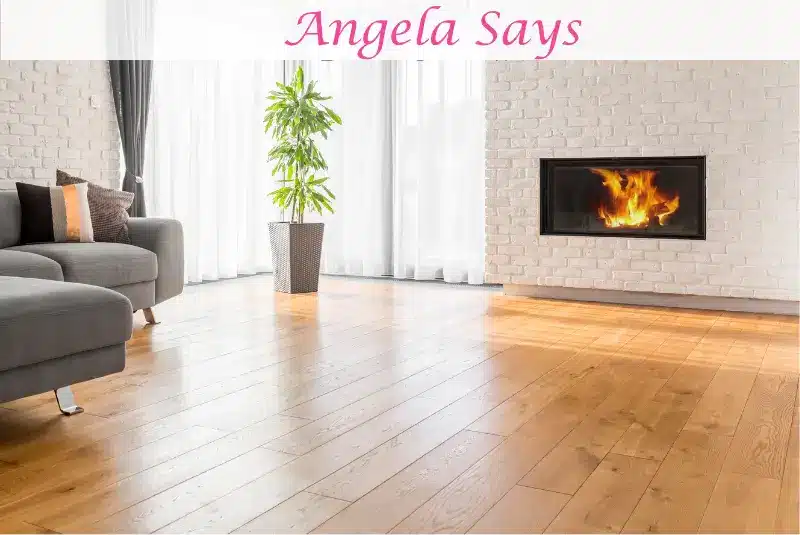
Wood floors add timeless elegance and natural warmth to any home, but cleaning them the wrong way can lead to long-term damage. Many homeowners unknowingly shorten the life of their hardwood floors by using harsh chemicals, applying too much water, or choosing the wrong tools. Over time, this can result in warping, dulling, discoloration, and even structural issues.
This comprehensive guide is designed to help you clean and preserve your wood floors. Whether you have solid hardwood or engineered flooring a sealed or oil-finished surface, we’ll walk you through the right methods, products, and routines to protect your investment and keep your floors looking beautiful for decades. From daily dusting to deep cleaning and post-care protection, you’ll learn everything needed to care for wood floors without the risk of damage.
Know Your Floor Type Before You Clean
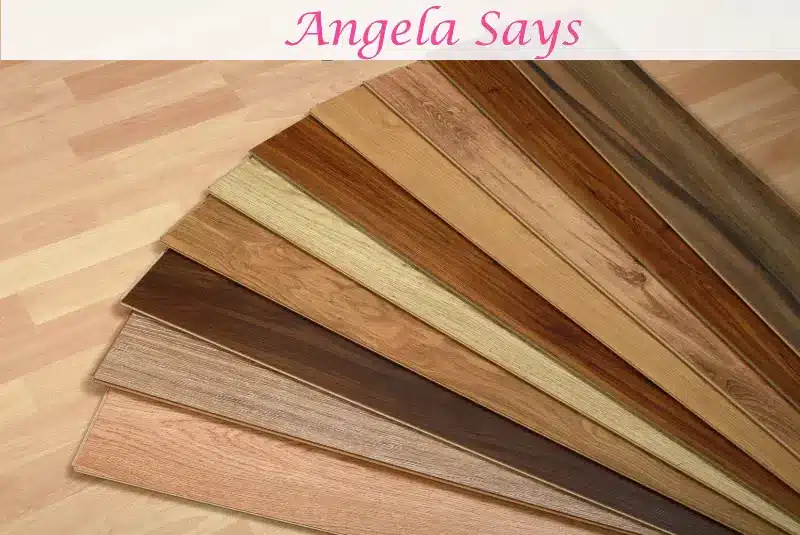
Before picking up a mop or spray bottle, it’s essential to understand what kind of wood floor you have. Different wood types and finishes respond differently to moisture, cleaning solutions, and maintenance routines. Using the wrong method can strip the finish, cause staining, or lead to warping.
Solid Hardwood vs. Engineered Hardwood
- Solid Hardwood: Milled from a single piece of wood, these floors can be sanded and refinished multiple times. While durable, they’re highly sensitive to moisture and require cautious cleaning practices.
- Engineered Hardwood: Constructed from layers of wood with a thin hardwood veneer on top. It’s more dimensionally stable, making it less likely to expand or contract with humidity changes. However, it cannot be refinished as many times as solid hardwood.
Understanding Your Finish
Knowing your finish type helps determine the safest products to use:
- Polyurethane (Sealed) Finish: The most common modern finish, polyurethane forms a protective barrier on the surface. These floors can tolerate lightly damp mops and specific hardwood-safe cleaners but should never be oversaturated.
- Oil-Finished Floors: Rather than sitting on top, the oil penetrates into the wood. They need oil-based cleaning and maintenance products to preserve their natural look and texture.
- Wax-Finished Floors: Less common today but still found in older homes, waxed floors are sensitive to moisture and harsh cleaners. They require buffing and re-waxing rather than typical wet cleaning.
Pro Tip: If you’re unsure of your floor type or finish, test an inconspicuous area with a small amount of water or cleaner. If it beads up, the surface is likely sealed. If it soaks in quickly or smudges, it may be oil- or wax-finished.
Understanding your floor’s construction and finish is the first step in avoiding costly mistakes and ensuring long-term durability.
Daily and Weekly Maintenance Basics
Keeping wood floors clean doesn’t require constant scrubbing—just a simple, consistent routine. Regular upkeep prevents dirt, grit, and debris from accumulating and scratching the surface. Even the tiniest particles can act like sandpaper underfoot, slowly wearing down your floor’s finish over time.
Daily Dusting or Dry Mopping
A quick daily sweep goes a long way. Use a microfiber dust mop or dry cloth to trap dust and fine particles. Microfiber is especially effective because it creates an electrostatic charge that lifts dust rather than pushing it around. Avoid traditional brooms with stiff bristles, which can scratch the floor or leave debris behind.
Daily dusting prevents buildup and keeps the surface looking polished in high-traffic areas—such as hallways, kitchens, and entrances. For homes with pets, it also helps control dander and hair that could cling to the floor.
Weekly Vacuuming
Vacuum your wood floors once or twice a week to capture dirt and allergens in corners and along baseboards. Choose a vacuum designed for hardwood floors, or use an attachment without a rotating brush (beater bar), which can damage the finish.
Be especially thorough under furniture, rugs, and near entryways, where dirt tends to gather. Turn down the suction power if your vacuum allows you to avoid scuffing the floor or pulling at joints.
Quick Tip
- Place mats at entry points to minimize dirt entering your home.
- Remove shoes indoors to prevent grit and oils from scratching or dulling the surface.
Sticking to a daily and weekly schedule keeps your floors looking fresh and reduces the need for more aggressive cleaning later on.
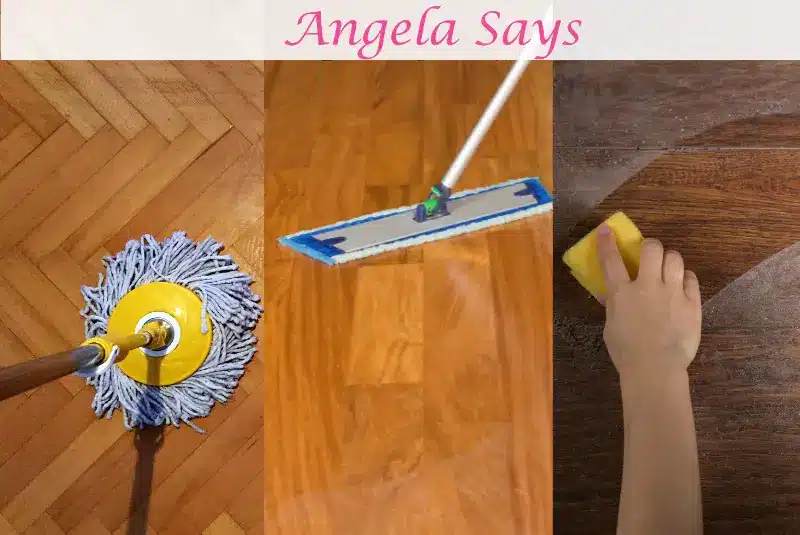
Safe Cleaning Methods That Won’t Harm Wood
While daily dusting and vacuuming remove surface dirt, your floors occasionally need a deeper clean. However, hardwood is not like tile or vinyl—moisture, harsh chemicals, and abrasive tools can do more harm than good. Using the right method is key to preserving the wood’s finish and integrity.
What to Use
- pH-Neutral Hardwood Floor Cleaners: Always opt for a cleaning solution that’s specifically labeled safe for hardwood floors. These cleaners are formulated to lift dirt without stripping the finish or leaving a sticky residue. Avoid anything acidic or alkaline, which can wear down the protective coating.
- Lightly Damp Microfiber Mop: A microfiber mop is ideal for cleaning because it’s soft, non-abrasive, and absorbent. Lightly mist the mop with cleaner—never soak it. The goal is to damp-clean the surface, not saturate it.
- Spot Applicators: Use a soft cloth and a diluted cleaner for small messes or targeted cleaning. Always wipe in the direction of the grain to prevent streaking or smudging.
- Spray Bottles: Instead of pouring cleaner onto the floor, use a spray bottle to mist small sections as you work lightly. This gives you better control and reduces the risk of over-wetting.
What to Avoid
- Steam Mops: Though heavily marketed as a “natural” cleaning tool, steam mops are too aggressive for wood. The combination of heat and moisture can cause boards to swell, cup, or delaminate, especially over time.
- Vinegar and Water: Despite being a common DIY solution, vinegar is acidic and can dull the finish over time, especially if used repeatedly on polyurethane-coated floors.
- Ammonia or Bleach-Based Cleaners: These products are far too harsh and can erode the topcoat, leading to discoloration or uneven fading.
- Soapy or Oily Cleaners: They might give a temporary shine but leave residues that attract dirt and create a slippery surface. Over time, they can build up, making floors look cloudy or greasy.
Pro Tip: Always test any new cleaning product on a small, inconspicuous area before applying it to the entire floor. This ensures compatibility with your floor’s finish.
Spot Cleaning Spills and Sticky Areas
Even with the best maintenance routine, accidents happen—especially in homes with kids, pets, or high foot traffic. When spills or sticky messes land on wood floors, acting fast and using the right techniques can prevent permanent damage or staining.
Step-by-Step: Handling Spills
- Blot Immediately
The longer a spill sits, the more likely it is to soak into the wood or seep between planks. Use a clean, dry microfiber cloth or paper towel to blot—not rub—the spill. Rubbing can spread the mess or push liquid into the wood grain. - Damp Clean if Needed
For slightly sticky or dried spills (like juice or food residue), use a barely damp cloth with a few drops of pH-neutral hardwood floor cleaner. Gently wipe in the direction of the wood grain. Then, immediately dry the area with a soft towel. - Avoid Standing Water
Never leave pooled liquid on the surface, even for a short time. Water can seep into seams, leading to cupping, warping, or mold growth under the floorboards.
Sticky or Stubborn Residue
- Gum or Wax: First, harden the residue using an ice pack wrapped in a cloth. Once it solidifies, gently lift it off with a plastic putty knife or your fingernail. Avoid metal tools that could scratch the finish.
- Grease or Oil: Use a small amount of hardwood-safe degreaser applied to a cloth (never directly on the floor). Wipe and dry immediately.
- Paint or Crayon Marks: Try a soft cloth with a bit of rubbing alcohol or mineral spirits—test first on a hidden spot to ensure it won’t affect the finish.
Pro Tip: Always dry the area thoroughly after spot cleaning. Even a small amount of moisture left behind can work its way into the wood and cause long-term issues.
Deep Cleaning – When and How to Do It Right
Even with consistent maintenance, hardwood floors can gradually lose their shine due to embedded dirt, cleaning product residue, or wear in high-traffic areas. When your regular routine isn’t enough to restore their natural beauty, it’s time for a deeper clean. But deep cleaning wood isn’t about heavy soaking or scrubbing—it’s about technique, care, and sometimes professional help.
Signs Your Floor Needs a Deep Clean
- Persistent dullness or haze, especially in traffic lanes
- Greasy or sticky feeling even after mopping
- Uneven shine or discoloration in certain areas
- Accumulated grime in textured grains or edges
- Allergies worsening due to unseen buildup in floor seams
If any of these sound familiar, it’s a sign your floors are asking for more than just a surface wipe.
DIY Deep Cleaning: The Safe Way
- Choose the Right Product: Look for a residue-free hardwood floor cleaner formulated for deep cleaning. Avoid multi-surface or “all-purpose” cleaners unless specifically marked as wood-safe.
- Use a Damp, Not Wet Method: Lightly mist the floor with cleaner or use a spray mop. Avoid traditional mops and buckets, as they can apply too much water.
- Work in Sections: Clean small areas at a time so that moisture doesn’t sit too long. Wipe each section with a dry microfiber cloth immediately after mopping.
- Hand Detail Edges: Use a soft cloth or sponge to get into corners and along baseboards where dirt and dust accumulate.
- Let It Air Out: After cleaning, allow the floor to fully dry with good air circulation. Open windows or turn on ceiling fans to speed up the process.
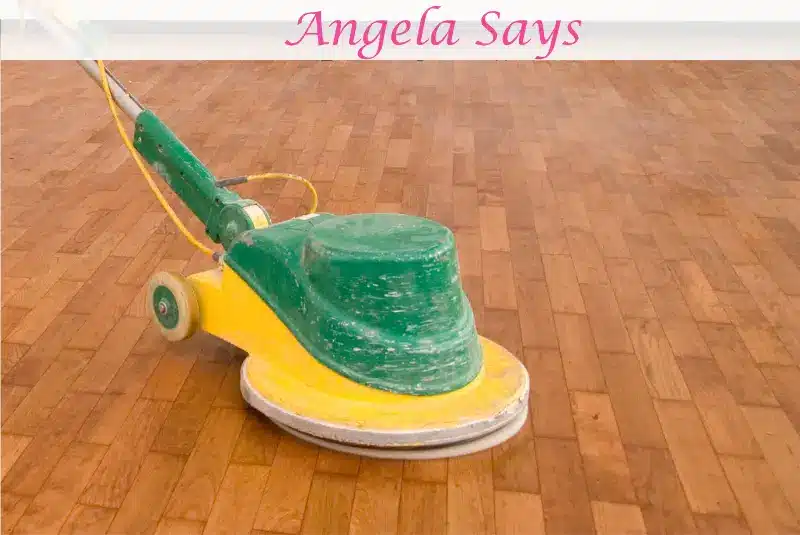
Why You Should Consider Professional Deep Cleaning
Sometimes, even the best DIY deep cleaning can’t match the results of a professional service. Expert cleaners use specialized equipment and wood-safe buffers that lift deep-seated grime, remove hazy buildup, and restore the original luster—without risking damage to the floor.
Professional advantages include:
- Controlled moisture levels for safe cleaning
- Industrial-grade pH-balanced solutions
- Buffing and polishing to restore sheen
- Optional protective topcoats for added longevity
- Expert inspection to identify early signs of damage or wear
A professional deep clean 1–2 times a year can make routine cleaning easier and significantly extend the life of your flooring.
Protecting Wood Floors After Cleaning
Once your wood floors are clean and refreshed, keeping them that way is the next priority. Preventive measures make cleaning easier and protect your investment by minimizing wear and tear, moisture exposure, and scratches.
Use Entry Mats and Rugs Strategically
- Place doormats at all exterior entrances to trap dirt, sand, and moisture before it hits your floors. Opt for mats with non-slip backings that are safe for wood surfaces (avoid rubber, which can discolor flooring).
- Rugs in high-traffic areas like hallways, kitchens, and dining tables help prevent scuffing and ground-in debris.
- Make sure to shake out or vacuum rugs weekly to prevent dirt from collecting beneath them.
Apply Furniture Pads
Install felt pads or rubber caps on all chairs, stools, and furniture legs to prevent scraping when they shift. Use a protective mat specifically designed for hardwood floors for rolling office chairs.
Manage Humidity
Wood is sensitive to climate change. Too much moisture causes expansion and cupping; too little causes gaps and cracks. Maintain indoor humidity levels between 30–50% year-round using:
- Humidifiers during dry winter months
- Dehumidifiers in humid seasons or climates
Minimize Sun Exposure
Over time, direct sunlight can fade or discolor wood. To protect your floors:
- Use UV-blocking window film or sheer curtains
- Rearrange rugs and furniture periodically to even out fading
- Consider applying a UV-resistant floor finish if fading is a major concern
Trim Pet Nails
Pet claws can leave scratches even on tough polyurethane finishes. Keep nails trimmed, and consider placing mats under pet bowls to catch spills and water drips.
Keep Floors Dry
Avoid leaving damp items—wet shoes, towels, or cleaning tools—on your wood floors. Even a small amount of prolonged moisture can seep between planks and cause damage beneath the surface.
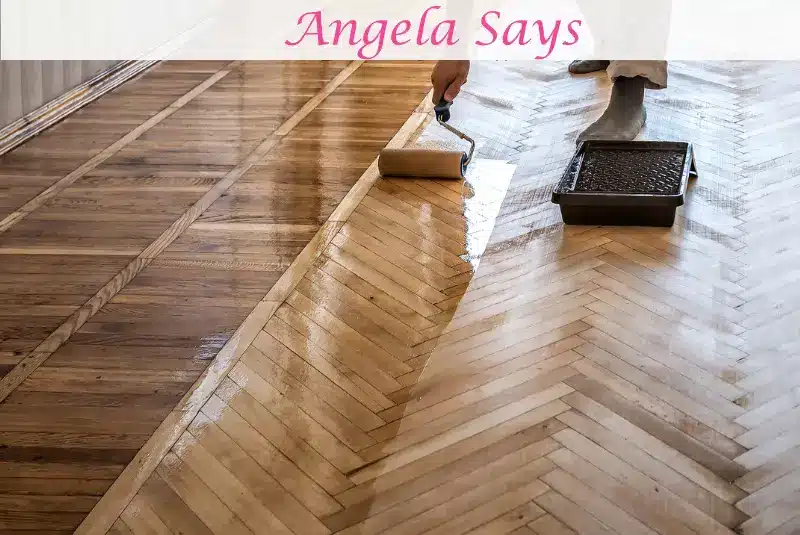
Pro Tip: If you’ve recently deep cleaned or had your floors professionally treated, ask your technician whether a topcoat or polish is recommended. These can add a temporary layer of protection and improve the floor’s shine.
Common Myths About Wood Floor Cleaning
Hardwood floors are often misunderstood when it comes to cleaning and care. Misguided advice, old habits, and DIY shortcuts can lead to long-term damage. Let’s clear up some of the most persistent myths to ensure your floors stay beautiful for decades.
Myth #1: “Vinegar and Water Is the Best Natural Cleaner”
Truth: Vinegar is acidic, and while it’s a popular DIY solution, it can break down polyurethane finishes over time, leading to dullness and potential damage. Even diluted mixtures can harm the topcoat, especially if used regularly.
Better Option: Use a pH-neutral hardwood floor cleaner formulated for your floor’s finish.
Myth #2: “Steam Mops Are Safe and Sanitize Better”
Truth: Steam may sanitize, but it’s dangerous for wood. The high heat and moisture can penetrate seams, soften adhesives in engineered wood, and cause warping or cupping—even if the floor is sealed.
Better Option: A lightly damp microfiber mop paired with a hardwood-safe cleaning solution offers effective, safe sanitation.
Myth #3: “If It Looks Clean, It Doesn’t Need Cleaning”
Truth: Dirt and dust can be invisible but still abrasive. Grit that settles into the grain or underfoot traffic causes micro-scratches that gradually dull the finish.
Better Option: Regularly dust and vacuum, even when the floor appears clean.
Myth #4: “All Floor Cleaners Are Safe for Wood”
Truth: Multi-surface cleaners or soap-based formulas often leave behind residue, which can attract more dirt and lead to a cloudy or sticky finish. Some may even strip protective coatings over time.
Better Option: Only use cleaners specifically labeled as safe for hardwood floors—and ideally those recommended by your floor’s manufacturer.
Myth #5: “Polishing and Waxing Are the Same”
Truth: They serve very different purposes. Polishing adds shine to polyurethane-sealed floors, while waxing is used for older, unsealed, or wax-finished floors. Using wax on a polyurethane floor can make it slippery and difficult to refinish later.
Better Option: Understand your floor’s finish and follow manufacturer guidance on whether to polish or wax—and how often.
Myth #6: “More Water Means a Deeper Clean”
Truth: Water is the enemy of wood. Excessive moisture can seep between planks, loosen adhesives, or promote mold growth underneath.
Better Option: Always use minimal water and dry floors immediately after damp mopping.
Conclusion for This Section: Believing these common myths can do more harm than good. By separating fact from fiction, you’ll avoid mistakes that could cost you hundreds—if not thousands—in floor repairs or premature replacement.